JOURNAL
documenting
&
discovering joyful things

Composting for tiny gardens (even courtyards & balconies)

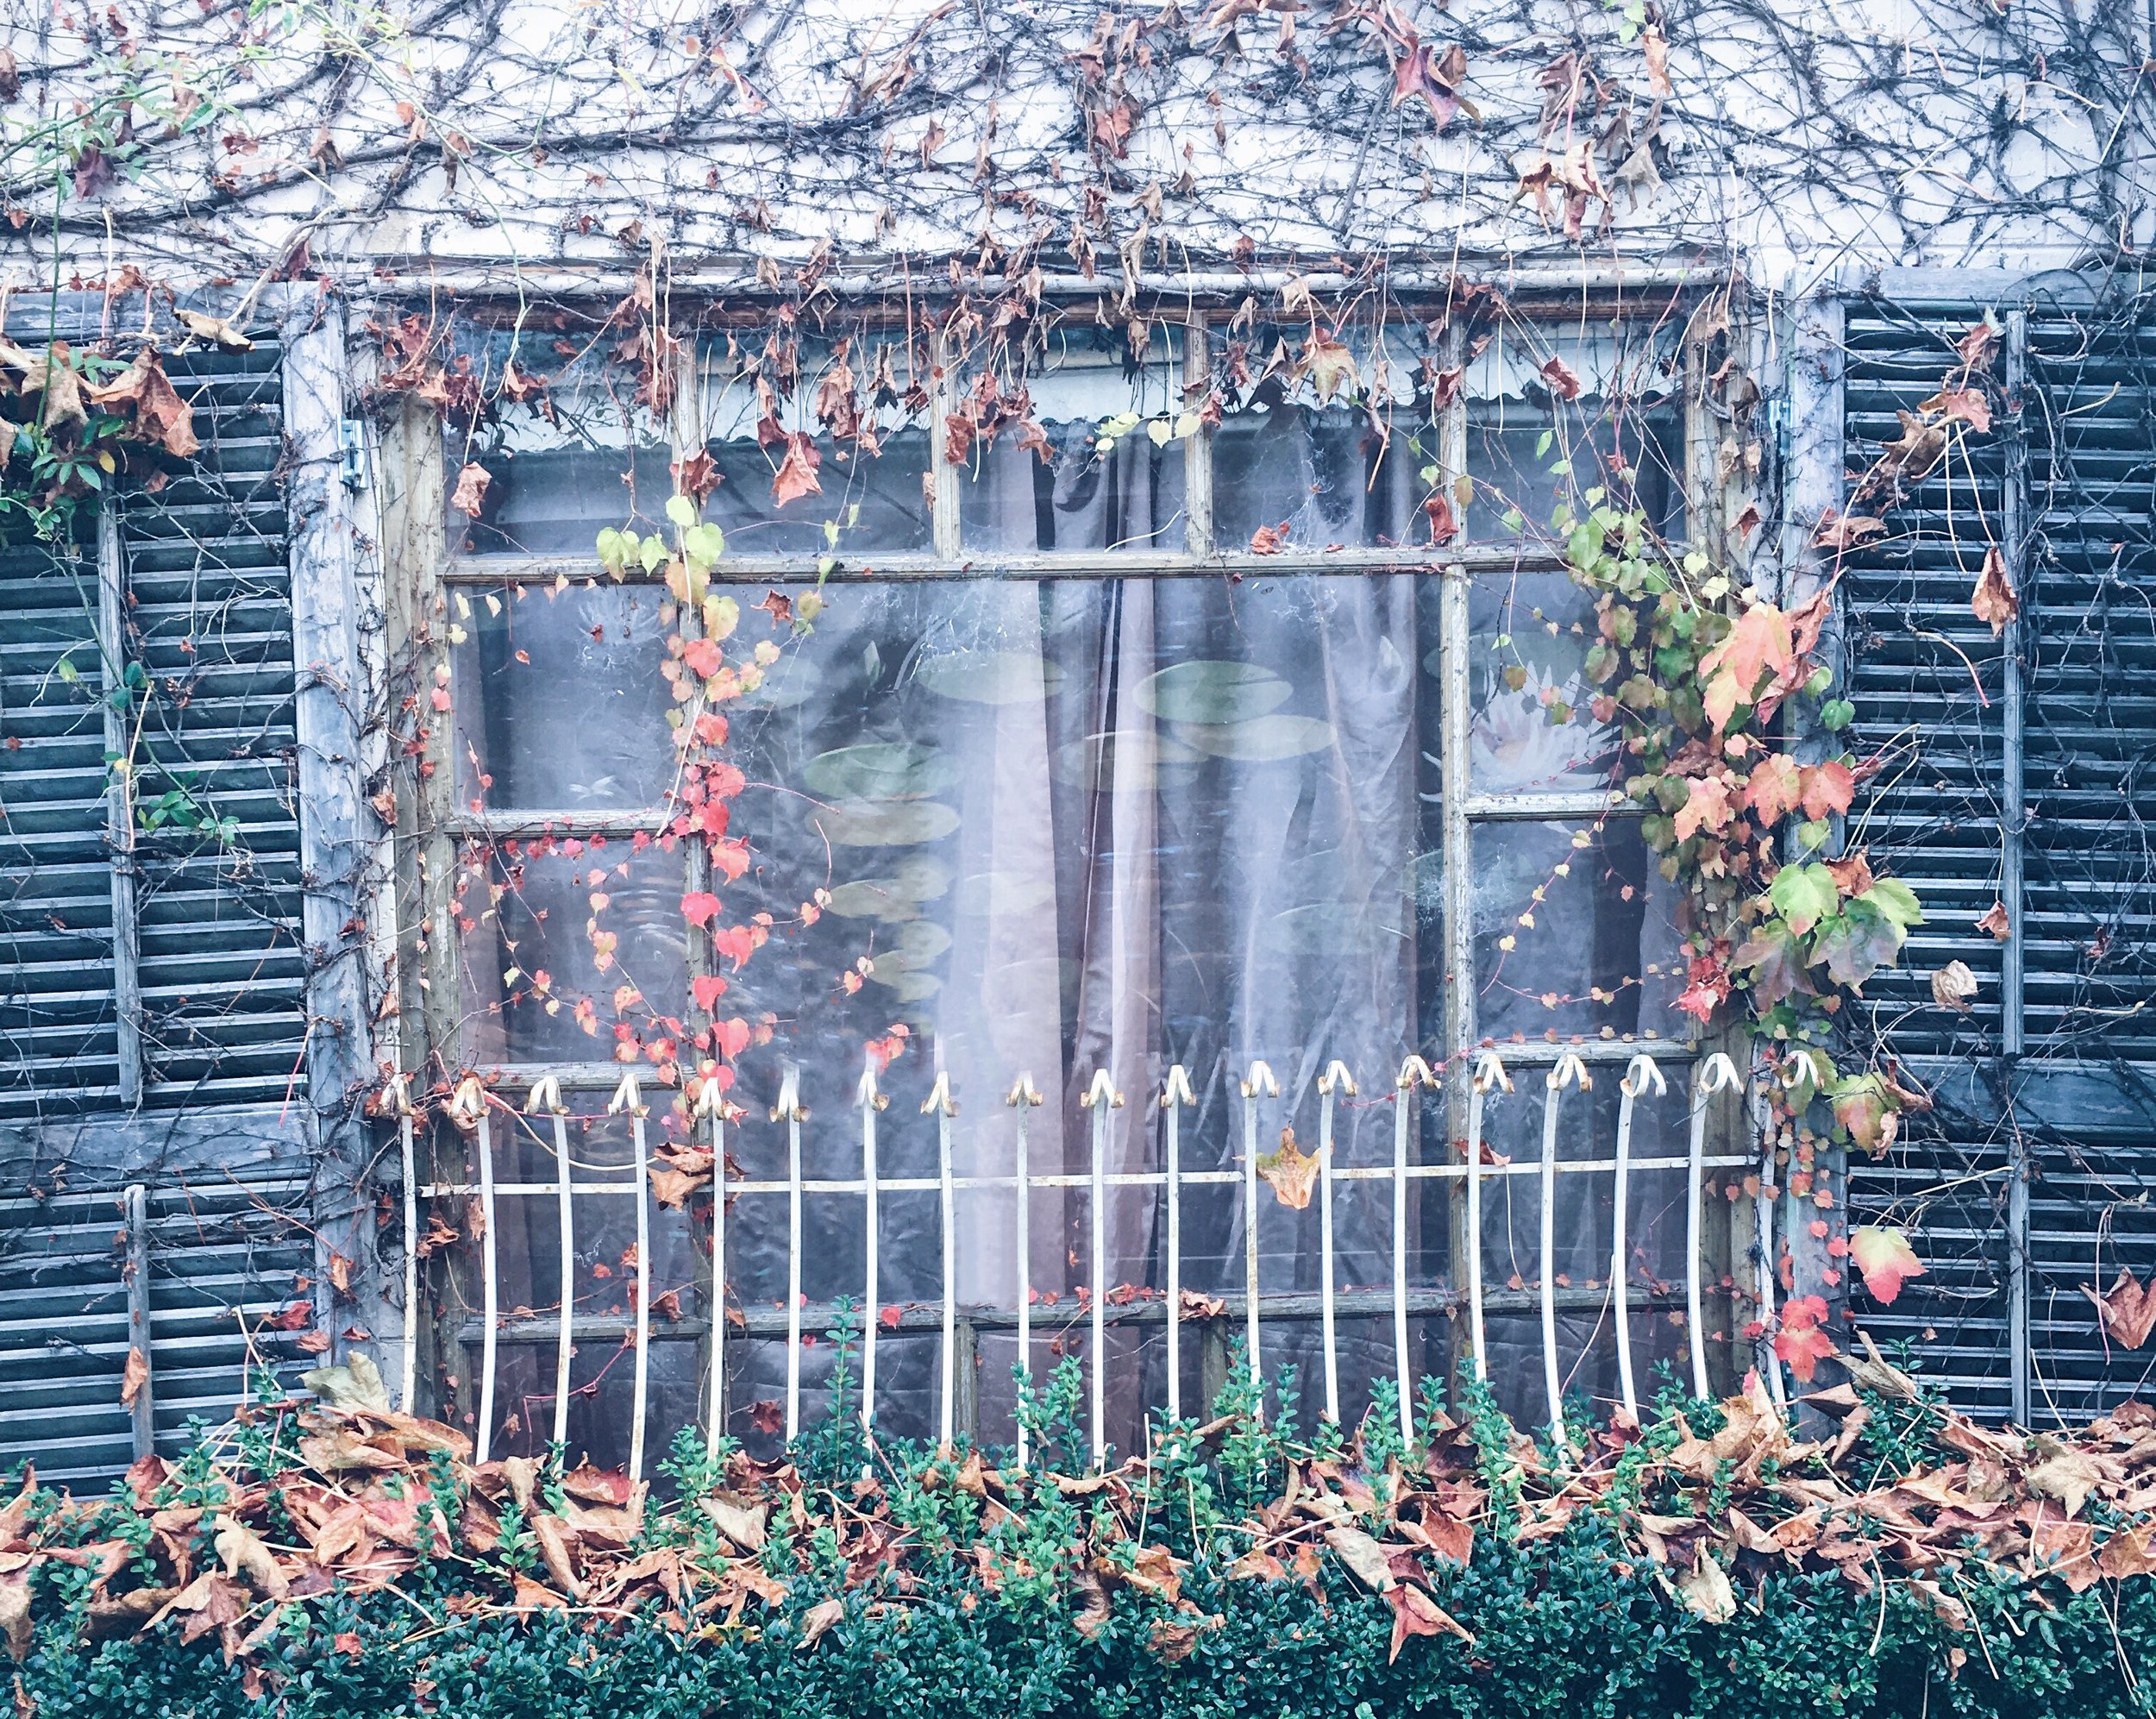
Hello! This is my city garden! It is the size of a single car-space, because until two years ago, it was a single parking space. We gave up having a guaranteed place to park our car in favour of creating a green room in which to relax, ponder and play, and it was the best decision we made in our entire home. The photograph above was taken last week, while I was cleaning up after a garden party during which we had had 40 guests over for afternoon tea. It was a warm day, and there were not one but three compost receptacles decomposing away in this very small garden. But nobody could see them, and nobody could smell them. Hurrah!
How did we do that?
In my ongoing quest to reduce waste in our home, and lessen our impact on the planet, it has particularly irked me that we didn't have a composting system. Even after we built the garden, I continued scraping mountains of food-scraps into the bin every day.
Essentially, space was the problem. Even the smallest of compost bins were quite big in relation to our garden. They'd create a giant, plastic eyesore, taking up precious growing-space. And, more to the point, occasionally smelling bad. (I know, I know, properly managed composts don't smell. Much. But if your garden is so small that you can all but touch both sides of it when stretching out your arms, that puts you in very close proximity to the compost no matter where you go. I live in Australia, friends. Things get hot in the summer. Pile as much dry matter and mulch as you like into that bin, the stench of slowly rotting watermelon rinds and browning banana peels will find a way to cut through, as do the sandflies. It's gross.)
Day after day I kept scraping rinds and pulps into the rubbish bin, wishing I could scrape the guilt of my wasteful habit away with them. And to add insult to injury, I was paying good money to buy compost for the the garden in spring-time! I did my best to keep the waste low, by planning better, shopping smarter, and being more creative with my cooking. Thanks to the magic of the Instagram community, for example, I now have a host of delicious ways to use the green parts of leeks in my cooking. Recently I've learned how to dye fabric using avocado seeds and skins. But still, the rubbish bin is full of compostable matter every week.
Or I should say, was full. Enter the composting cannon.
Fair warning: I am about to wax lyrical about this product. I'm not being paid, sponsored or in any other way encouraged to say this stuff. These links are not affiliate links, and these makers don't know I'm writing this blog at all. I'm just thrilled to finally have found a solution to my organic waste problem.
(BTW in case the composting cannon doesn't appeal to you, I've also provided a bit of a product round-up of some other fantastic composters for small spaces, as well as beginners tips on composting, at the end of this blog post.)

I discovered this little Australian invention at the CERES Community Environment Park, but you can also buy it online here. It is such a simple idea. You simply bury the cardboard cylinder in your garden (or in a planter box or big pot). Empty your food scraps into the cylinder, add a bit of mulch or shredded paper for dry matter, and push it down with the plunger provided. There's a mesh lid that keeps vermin away, holes in the side for worms to make their way through, and the whole thing breaks down over many months, delivering compost direct to your garden!
When I first took mine home, I couldn't quite figure out how it worked (it was just too simple - surely I was missing something!). So I've created a kind of mini tutorial for you in case you want to try it yourself.
How to use the Composting Cannon in a tiny garden

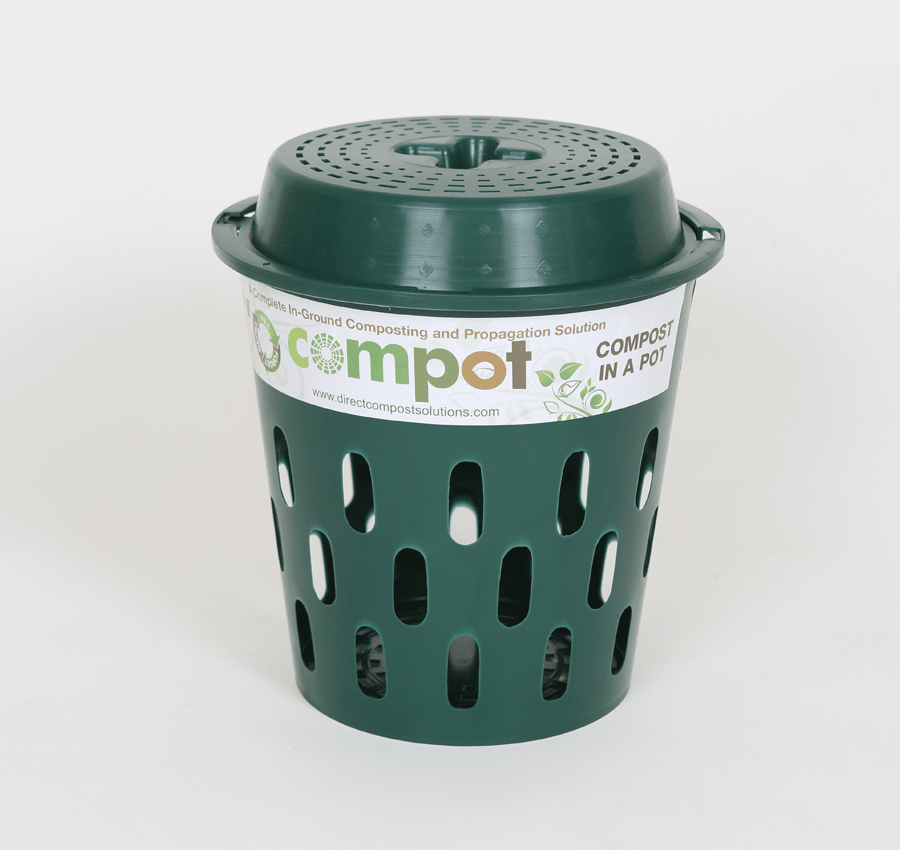
Step 1: Take the cannon out of the box, stare at it a while, and scratch your head. It will look like the picture above. There will be three cylinders, all with holes in them, each one fitting inside the other (like matryoshka dolls). Wire lids sit on both ends. Finally figure out that you have actually bought three "cannons" for the price of one, and feel very silly for not realising this in the first place. Separate them out. The wire lids are sized to fit the different width cylinders.

Step 2: Find somewhere in your garden where you can dig a hole about 12 centimetres wide, and 30 centimetres deep. If you're using pot plants, as long as the pot is at least 30 centimetres deep, you can use that just as easily. (The only challenge will be if your pot is too shallow - you don't want part of your composting cannon sticking out the top, looking ugly). Bury the cannon, leaving just enough of the rim sticking out of the top so that you can fit the wire lid over the top.

Step 3: It's ready to use! Tip any plant-based food scraps you like into the cylinder (some tips: citrus, onions, dairy and vegetable-fat products will slow down the composting process so should be minimised; and meat and animal fats should be kept out altogether because they attract rats - and smell really bad. There's a more extensive guide to what should and shouldn't go into a compost in the download at the end of this post). Now add a handful of mulch, dry leaves or even shredded paper on top. Use the plunger (it comes with the kit) to push everything down, then put the lid back on. Repeat this every time you have more food scraps, and that's it.
There is literally no maintenance - the worms do all the work for you, not only breaking down the scraps and creating the compost, but then carrying that compost through your garden or planter box, delivering it directly to the roots of your plants.
According to the website, each of these cylinders will compost more than 20 kilograms of organic waste during a four-month period. So with three, that's more than 60 kilograms transformed from stinking landfill into beautiful, nutrient-rich compost for the garden.
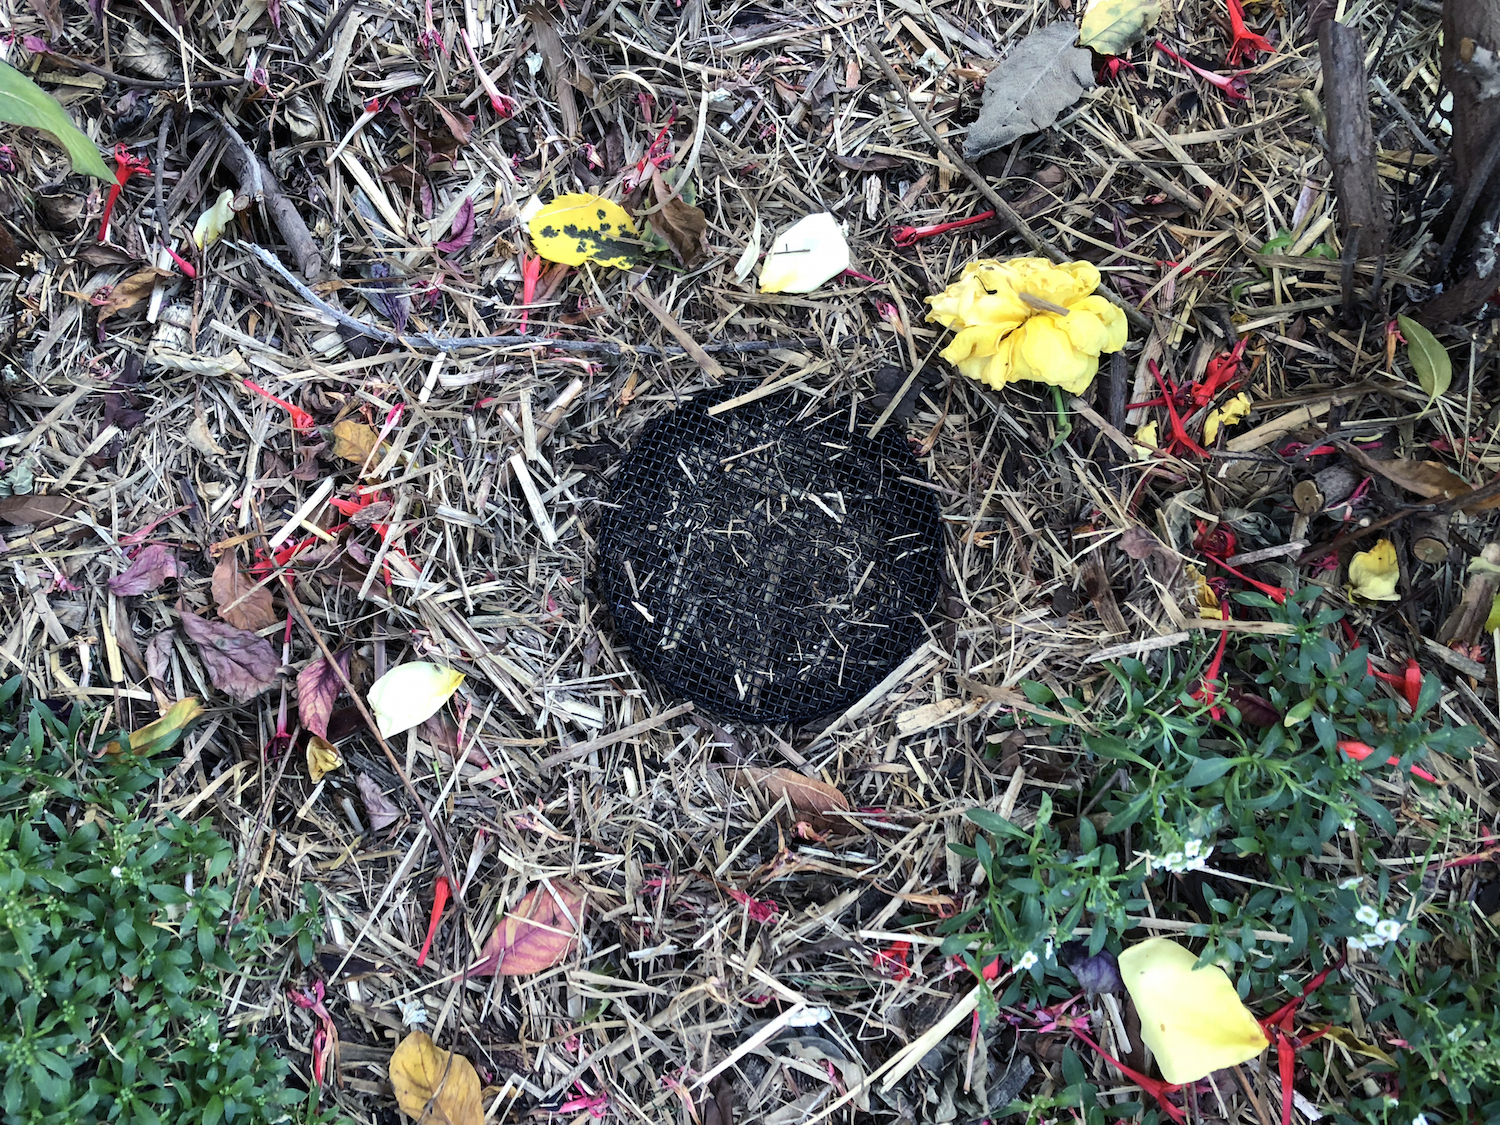
This is a really unobtrusive composting system. My three, when I'm not topping them up, look like the picture below. Actually they look even less obtrusive, because wind and birds cover them each day with the mulch, which I had to move aside to take this photograph.
The contents of your cylinders (and the cylinders themselves) will start to decompose after about four months. It takes even longer than that for them to start to be unusable, after which you can replace them (they are not expensive to buy, especially when you consider how long they last) and start all over again, adding more nutrient-rich compost to other areas of your garden or potted balcony.
One last thought: I do think you need to be somewhat realistic about just how much food waste you can fit into these little babies. We are a hungry family of four and, thanks to 50 percent of our family being pre-school aged, a lot of food gets dropped, tossed, played with or otherwise rejected (especially the vegetables!) so we tend to generate a lot of waste. On some days, when (for example) we've eaten through four bananas, made freshly-squeezed orange juice for the whole family, had a few slices of watermelon, and made a vegetable stir-fry for dinner, we can fill an entire cannon in one hit. If I've filled all three in quick succession, I do sometimes have to wait a few days and go back to putting the food scraps in the bin, until the food breaks down a little. So that's not ideal, but it is still a LOT better than our previous habits, and a great result for a tiny, inner-city garden.
Clever composting solutions for tiny gardens
Here's a quick round-up of some innovative composting solutions I've discovered online that appear to be great for reducing organic waste and creating garden nutrients when you only have a small space in which to work. (Remember I've only tried the Composting Cannon. I think I'll try the Bokashi next, and the two systems can supplement one another).

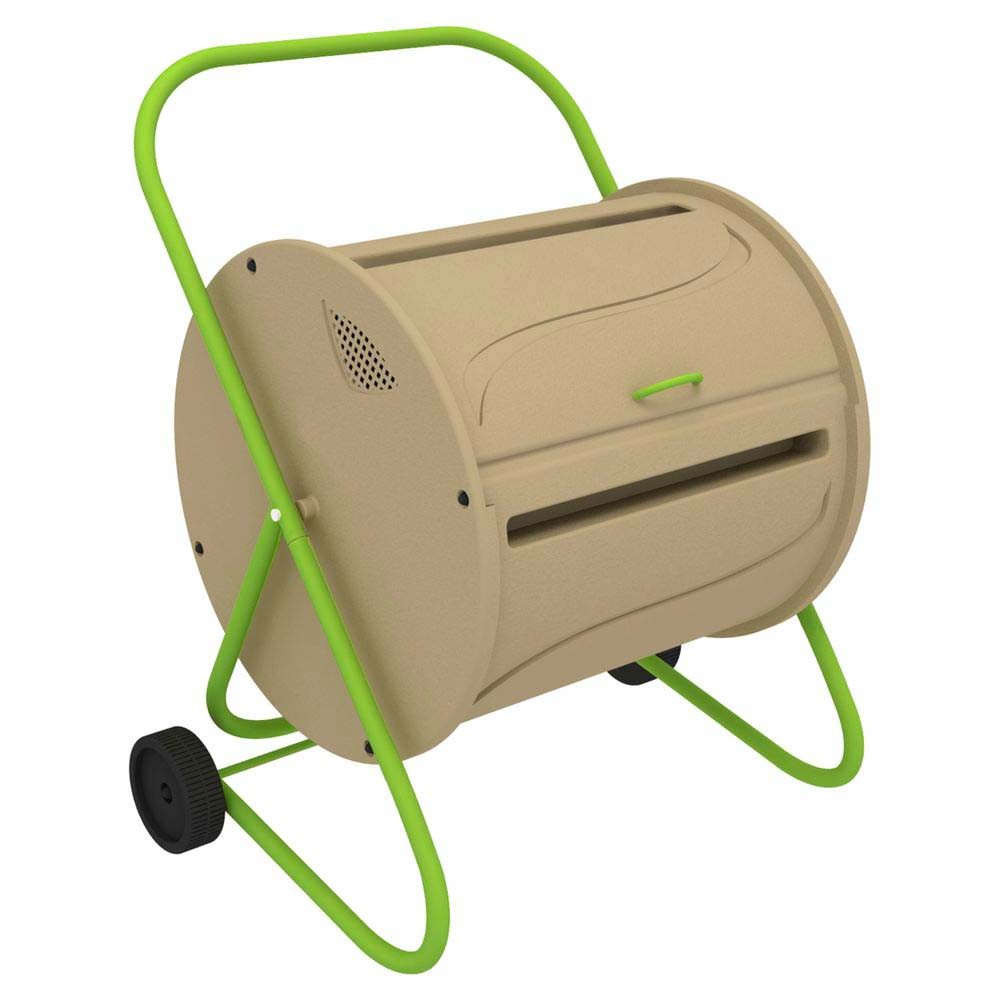
* Tumbleweed Compost Tumbler: a barrel on a stand than can be spun every couple of days to aerate the compost without needing to dig or turn

* Bokashi scrap fermenting: a system that is used to actually ferment kitchen waste (including meat and fish) by using micro-organisms to break down scraps, without creating bad smells

* Hungry Bin: a continuous-flow worm farm, on wheels so you can move it around your garden or balcony
What do you think? I'd love to know your ideas or experiences on composting or otherwise reducing and reusing food waste in small spaces. And in the meantime if you're keen to get started but this is all new to you, I've created a handy, guide below with some basic tips on composting for beginners (including what to include and what not to include in a healthy compost), whatever system you decide to use.